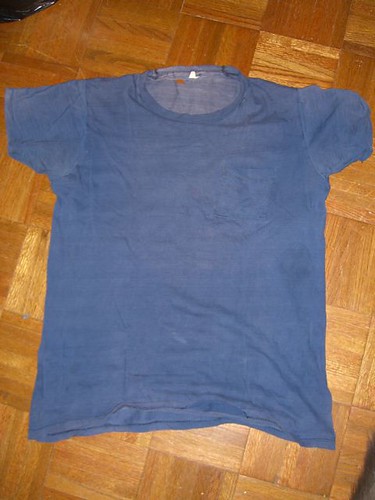
i have about a dozen sweatshirts that i love dearly but never wore out of the house because they were all about five sizes too big, having come to me as hand-me-downs from my brother or having been thrifted because i couldn't resist the pattern/graphics even though i could have fit two of me in them. example:
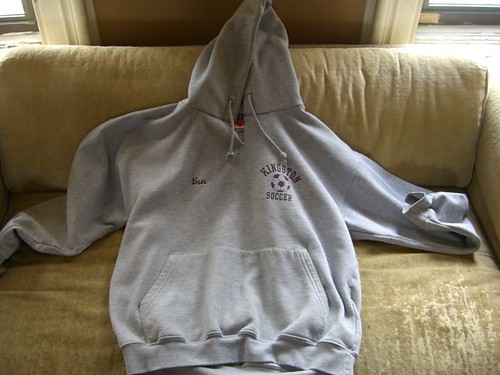
so i figured it was time to them down a few notches...
this is the basic process i followed:
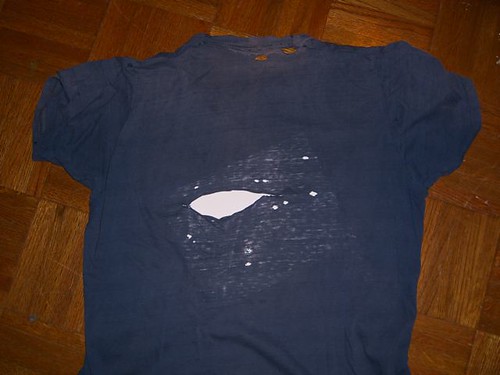
1) put the sweatshirt on inside out and marked the spot on either side of my bust where i thought the new armholes should start. i pinned the front and back together at those spots, so that the pins marked not only where the arm should start but also the new width that i wanted. i did the same with the band at the bottom—pinning the front and back together at the width that felt right.
2) took the sweatshirt off and laid it on a table and drew a line from the bust pins down to the bottom-band pins, and pinned it.
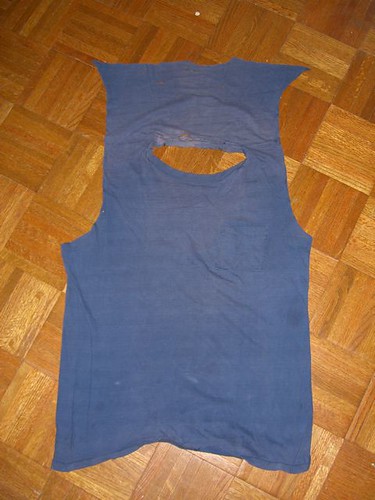
3) cut the arms off at the seams, then drew a line from the bust pins up to the shoulder seams at an angle, essentially creating a raglan sleeve opening. cut next to that line, leaving a decent (3/8") seam allowance.
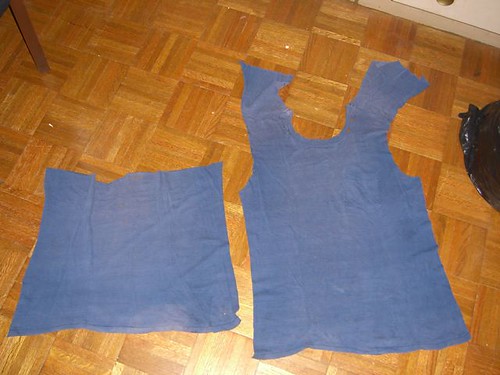
4) laid the top openings of the cut-off sleeves on the new sleeve openings i had marked on the body, so that they were aligned at the shoulder seams. then marked and pinned the openings of the sleeves at the spot that met up with the bottom of the sleeve openings. then drew a line from that spot down to the cuff of each sleeve, and pinned it.
5) sewed all of my new seams: both sides of the torso, both new sleeve seams. (i then used my serger to finish all of the seams; if you don't have a serger, just trim the excess. obviously.)
6) pinned the sleeves into the new sleeve holes, positioning so that the seams fall on the insides of the arms, and sewed them in. this scared the bejeesus out of me, as i'd never done a sleeve before, but it was totally painless!
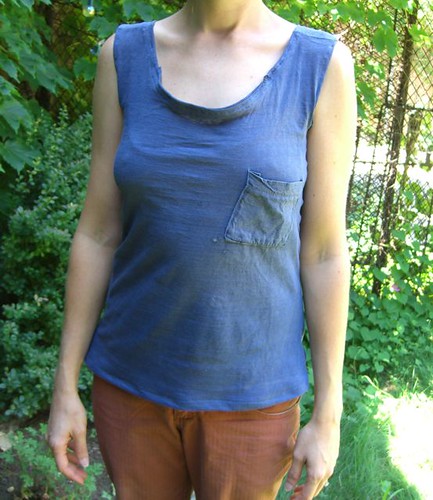
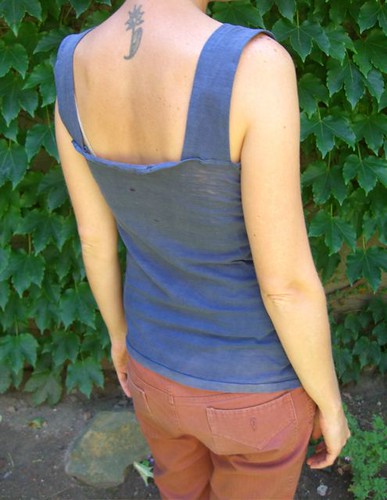
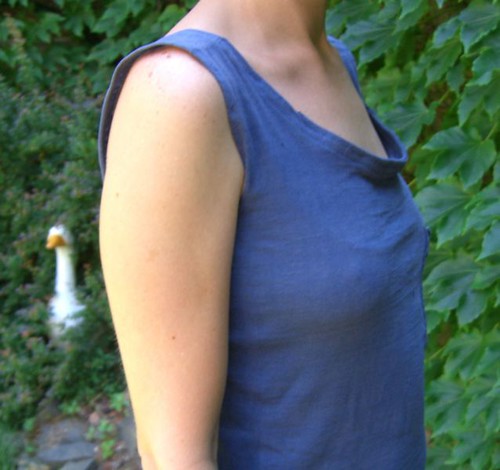
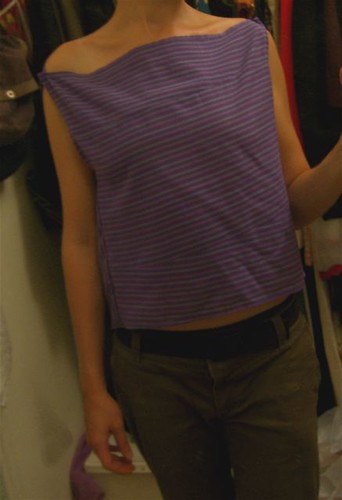
et, voila!
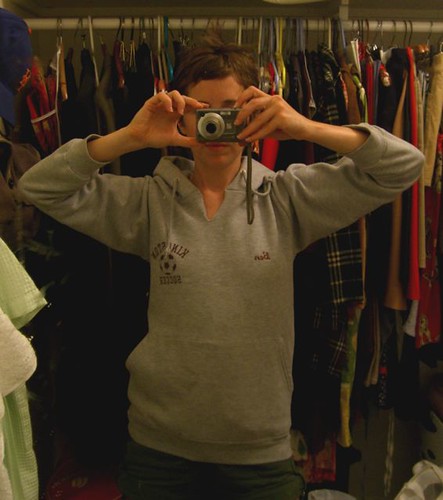
sorry it's not the greatest photo (i know it looks like the pocket kinda bends around to my right , but really it doesn't, i'm just standing crooked). but i'm so amped about the way it turned out. the sleeves became 3/4-ish length, which i love. and the kangaroo pocket in front stretches from seam to seam, which i think looks great. and most importantly, for my long torso-ed self, i have a sweatshirt that is slim enough and long enough. woohoo! after the sweatshirts, i'm moving on to all of the huge t-shirts i've saved from my college years when i wore everything five sizes too big on purpose....
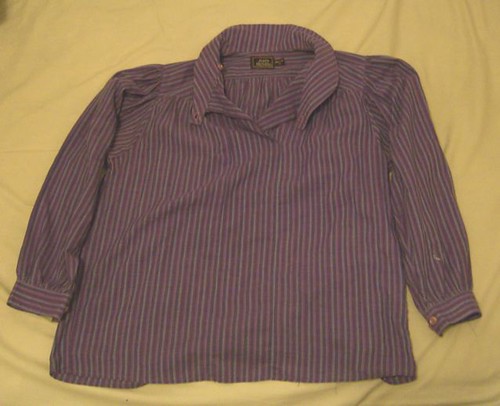
i also made a shirt for the young man, from this very large men's polo that i picked up at my favorite thrift shop, the goodwill in port st. lucie florida (home to the spring training facility of the n.y. mets and, just as importantly, my mom):
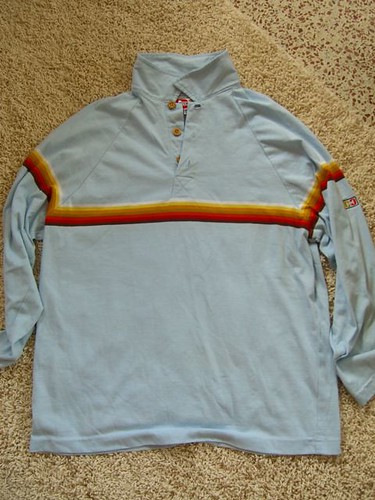
i traced one of wile's existing tops on top of it and ended up with this:
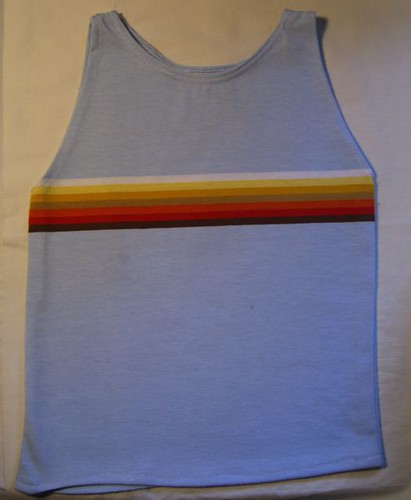
the neck and bottom seams are a little wonky because wile (age 2 & 3/4) wanted to "help", and i wanted to make sure that he didn't get his fingers anywhere near the needle of the sewing machine. but, still a successful project, i think. i wish i could have gotten a pic of him in it, but he refused to model. i'm still not sure what i'm going to do with the (abundant) excess material. maybe a tube top for me, with the stripe at the top....